- Author Caroline Forman [email protected].
- Public 2023-12-16 11:46.
- Last modified 2025-01-23 09:54.
Hand-made gifts carry the warmth of human hands and give a sea of positive emotions to the person who makes this gift and to the person for whom it is intended. The heart of even the most severe defender of the Fatherland will melt if its owner is presented with a postcard created by himself!

It is necessary
- • PVA glue, simple pencil, colored pencils, blue acrylic paint, thin brush;
- • A4 cardboard, a sheet of newspaper, colored paper or clippings from a glossy magazine;
- • Thin blue ribbon, a piece of white cloth.
Instructions
Step 1
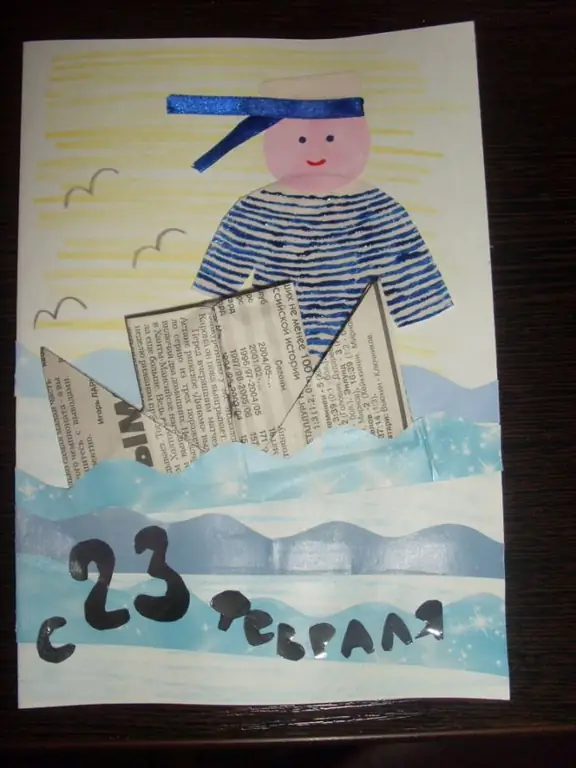
Making a postcard blank. We fold a sheet of cardboard in half and paint with colored pencils - the lower half is blue, the upper half is yellow. We cut out wavy strips from colored paper or from the pages of a magazine. Four is enough. We make a steamer out of the newspaper. We glue the first wave approximately in the middle of the postcard. We glue a newspaper steamer on top of it, until it is necessary to apply glue to the pipe, only to the bottom. On top of the steamer we glue the second, and even lower the third and fourth waves. Leave to dry. Can be put under the press.
Step 2
While the blank of the postcard is drying, we cut out a sailor's vest from a piece of fabric. If you have striped blue and white fabric, you can cut the vest out of it. If not, you can apply the stripes to the fabric with acrylic paint. The paint can be replaced with an ordinary ballpoint pen, the main thing is that your hands do not get dirty later. We cut out a peakless cap from the fabric, it looks like a trapezoid with smoothed corners. You also need to make a blank of the sailor's face - this is a circle with drawn eyes and a mouth. When the vest is dry, you need to place it under the steamer and glue it. Glue the head of the sailor on top, glue the cap on the head. We decorate the peakless cap with ribbons.
Step 3
We cut out a congratulatory inscription from colored paper, carefully place the letters on the waves and glue them. We draw seagulls against the sky.
Step 4
The inside of the postcard can be decorated with children's drawings - waves, clouds, seagulls and the sun. It remains only to write warm words!


