- Author Caroline Forman forman@fiestaleisure.com.
- Public 2023-12-16 11:46.
- Last modified 2025-01-23 09:54.
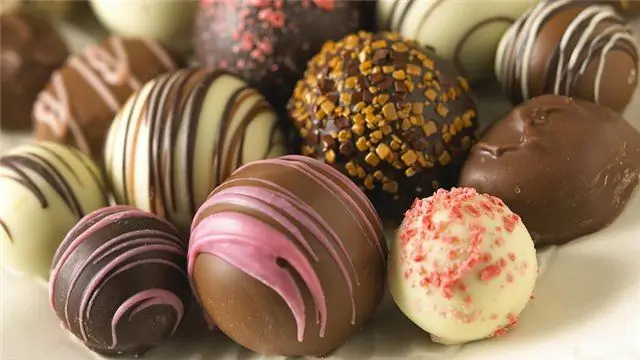
DIY Christmas tree decorations always differ from factory toys in their special style, originality and originality. The balls for decorating the Christmas tree, made of chocolate, are remarkable not only for their spectacular appearance, but also for the opportunity to enjoy a homemade "toy" after the end of the holiday.

It is necessary
- - several bars of dark and white chocolate;
- - Balloons;
- - pastry syringe or baking paper;
- - confectionery decorations;
- - ribbons, ribbons.
Instructions
Step 1
The return of the old tradition of making homemade Christmas tree decorations with the whole family brings not only a cozy touch to the home atmosphere, but also allows children to develop creative thinking skills and introduces them to the joy of creativity. Christmas balls made of chocolate will certainly be in the center of children's attention, will serve as an original decoration and will delight guests.
Step 2
The balloon is filled with water, carefully tied and sent to the freezer to solidify. In order for the ice blank to have a rounded rather than elongated shape, it is recommended to place the ball of water on a support - for example, on a mug.
Step 3
When the water is completely frozen, the rubber jacket is removed from the ice ball. Dark chocolate is melted in a water bath or in a microwave oven, filled with a pastry syringe or a bag of baking paper.
Step 4
The ice ball is placed on foil or polyethylene and painted in random order with melted chocolate. Do not cover the ice blank with a continuous layer of chocolate; there must be small gaps between the lines.
Step 5
The most successful ornament for making a chocolate ball is a dense mesh with small cells. When the chocolate has hardened a little, you can paint the surface with a pattern of white chocolate drops or apply a layer of candurin, a very effective pearlescent food coloring.
In addition, the ball can be decorated with pastry sparkles, sugar beads, curly sprinkles for baking, etc.
Step 6
The finished ball is left for several hours until the ice mold has completely melted and water flows out through the holes in the chocolate pattern. After that, a ribbon is attached to the decoration and hung on the Christmas tree.
Step 7
The same chocolate balls can be made from two hemispheres. The manufacturing technique differs in that the balloon is not filled with water, but half covered with melted chocolate and sent to the freezer for solidification. After hardening, both hemispheres are glued together using melted chocolate, after which they are decorated with decorative elements.


